The Inamata Flasher desktop app allows you to quickly flash the latest firmware and register the controller with the Inamata server. This guide only requires you having an ESP32 dev board, but a minimum set including LEDs and jumper cables is recommended (Amazon list). These will be used in the subsequent getting started guides. For Linux see this guide.
Flasher Install for Windows #
The preferred method is to use the Windows installer as this will allow you to start it from the start menu. The standalone install is useful if you want to start the app from a USB stick.

To get started, download and start the installer. For the portable executable, older versions and other platforms see the GitHub releases page.
Driver Setup #
Once the installation has completed you will have to download and install the CP210x USB to UART Bridge driver (legacy driver) by silabs.com. In most cases, double-click the CP210xVCPInstaller_x64.exe file provided by the legacy driver. Alternatively, a newer driver is also available, but the legacy one is recommended.
Additional information is provided by Espressif (Establish Serial Connection with ESP32 and Flash Using UART). In rare cases you might require the FTDI driver. This is used on some developer boards.
Logging in and Flashing #
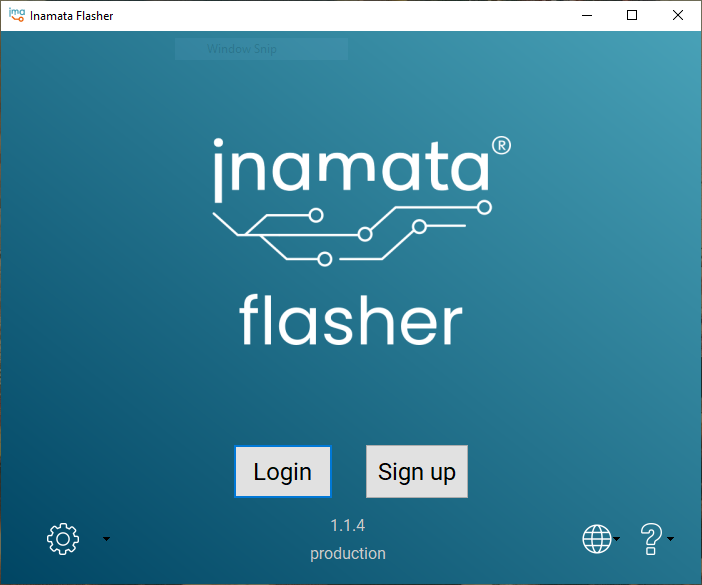
On starting the application you should be greeted by the above login page. If you have already started the web app and created an Inamata account, use the login button to log into your account. This should automatically open a browser tab with the login page. If this does not happen, copy the URL being displayed and open a new browser tab there manually. You should then be greeted by the following page.
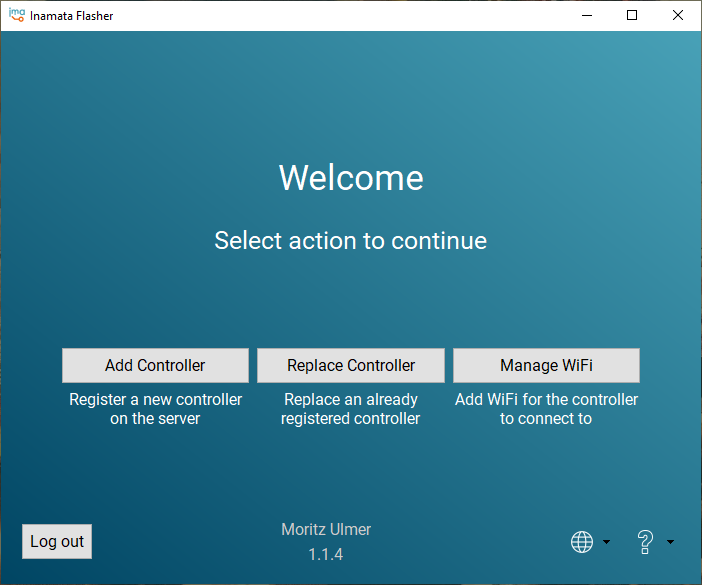
Once you have logged in, press the Add Controller button. If you have not set up WiFi credentials for the controller to use, it will automatically open that page. Enter the WiFi name and passphrase that the microcontroller should connect to. Please ensure that it also supports 2.4GHz.

After pressing Add WiFi Connection, it should lead you to the above add controller page. If you have multiple sites set up, select the appropriate site. Then, enter a name to be used for the controller. Select one or more (ctrl or shift click) WiFi connections to be added to the device. The newest firmware version will automatically be selected. If you want to use a specific version, select that now. Finally, press the Download & Flash button. Once the progress bar completes, the controller will automatically reboot and try to connect to the server.
Setting Up the Controller #
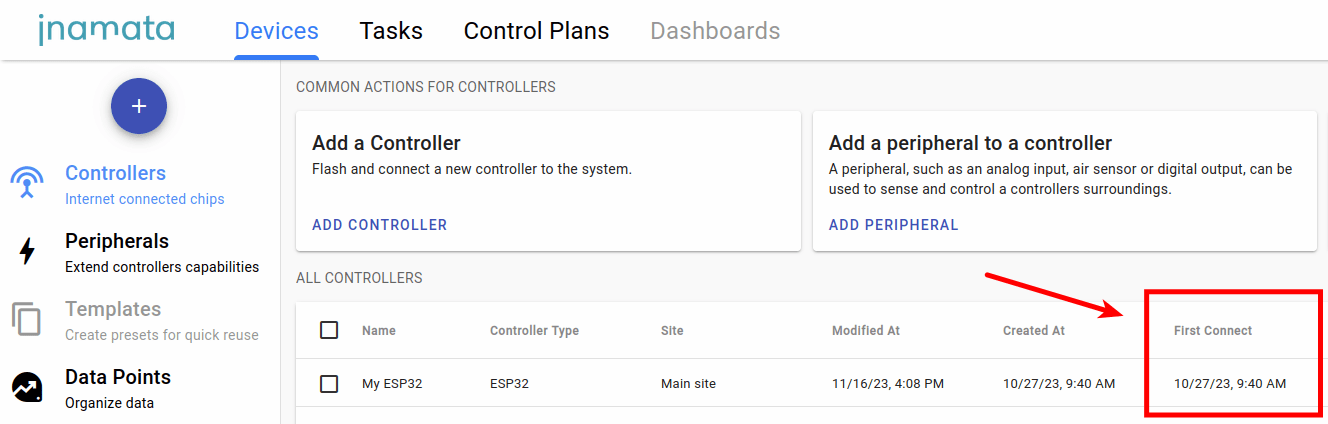
To setup the controller and verify that it connected to the server, open the web app. The table on the Controllers page in the Devices section lists all known controllers. Your controller should show up here and if a date is specified in the first connect column, your controller has successfully connected to the server. You can now continue with its setup, for example with the Turning on Your First LED followed by Creating Your First Control Plan.
Next Steps #
You have successfully connected your first controller. Why don’t you configure it to turn on an LED with the Turning on Your First LED with an ESP32 guide.


